Installation
From survey to working cameras — without surprises
Our installation workflow is designed for occupied HDB flats: minimal dust, labelled cables, and clear sign-off before we leave your unit.
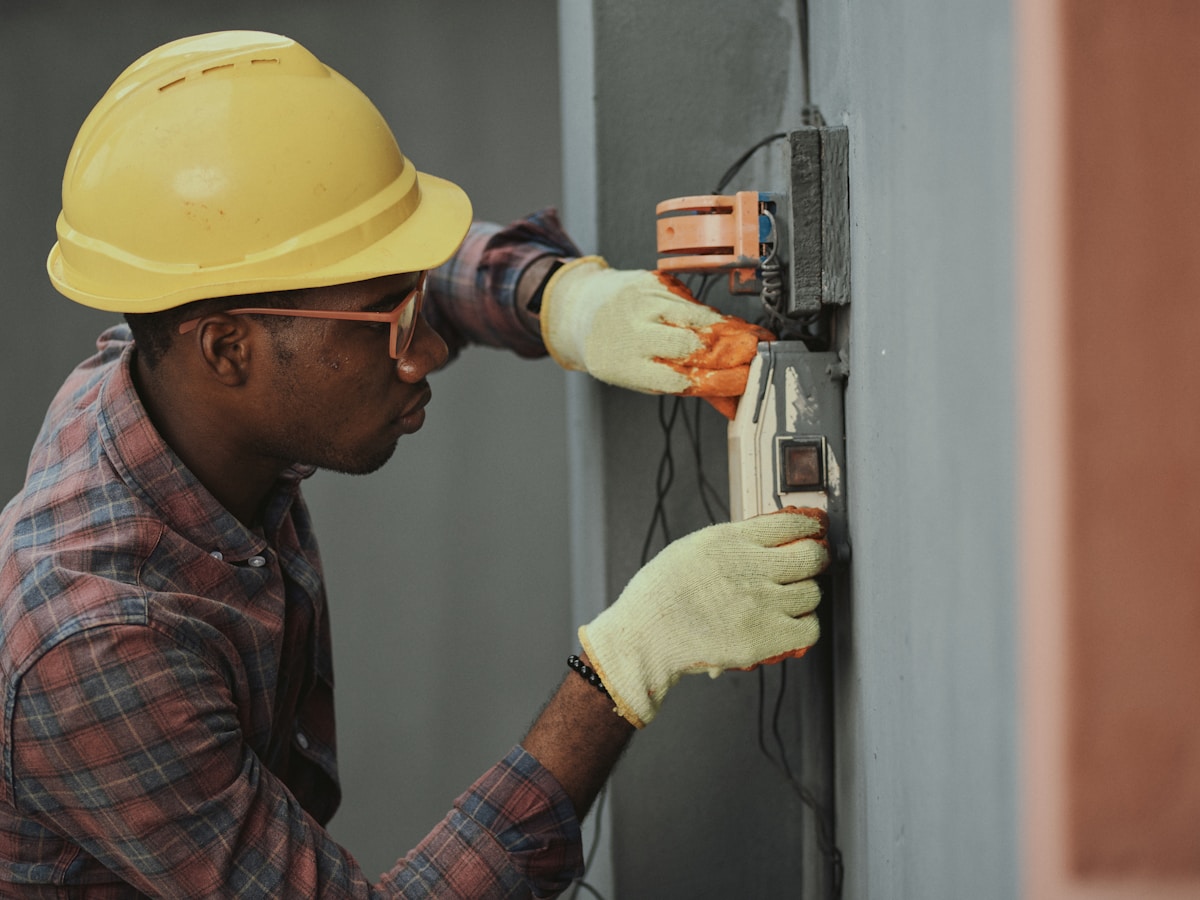
Clear access to your bomb shelter or utility cabinet speeds up installation day.
Before we arrive
Confirm your preferred installation date and ensure access to the bomb shelter or utility area where the NVR will sit. Clear floor space near the main door so we can test angles with a temporary mount. If you are renting, have landlord approval ready — we can provide a scope letter on request.
1 · Site survey (45–60 minutes)
We photograph proposed mount points, measure cable runs, and note Wi-Fi signal at the NVR location. You receive a sketch showing fields of view. Surveys are complimentary when you proceed with installation within thirty days.
2 · Written quotation
Itemised hardware, labour, and any add-ons such as extra storage or masonry anchors. No package upselling — if a single door camera meets your needs, we say so.
3 · Installation day
Technicians arrive within the agreed two-hour window, protect floors, and drill only at approved points. Cables are secured with fire-retardant clips where exposed. Power connections use existing sockets or fused spurs installed by licensed electricians when required.
4 · Configuration and testing
We set recording schedules, create your admin account, and test motion alerts by walking your actual corridor. Night mode is verified with lights off.
5 · Handover
Printed quick-start guide, warranty card, and digital copy of your camera map. We remain reachable by phone and email for seven days post-install for fine-tuning.
Typical installation duration
Single-camera setups usually complete within three hours. Three- to five-camera packages may take a full day, especially when fishing cables through conduits on older blocks. We communicate delays immediately — waiting silently outside your unit is not our style.